Explore the program
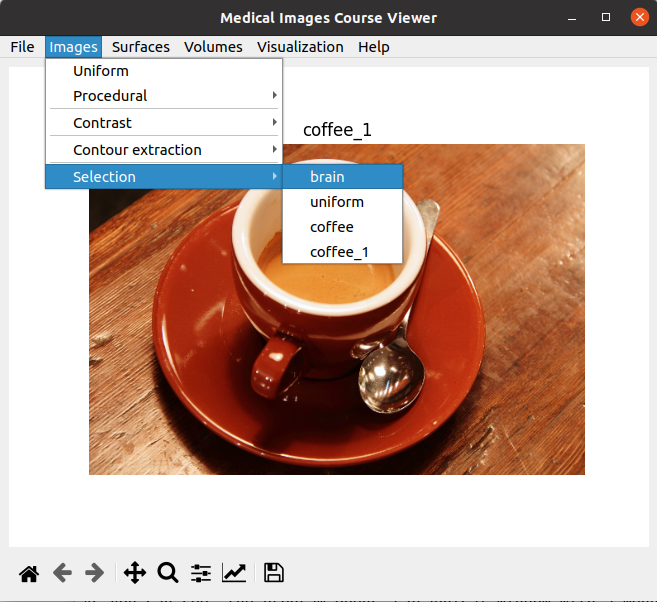
Try to read an image. Observe that it is automatically shown in the central widget of the application, in a matplotlib widget. Then create a procedural one (e.g coffee). Create again the same procedural image. Check in the Selection option of the menu Images. Observe that a list with the three image names has been created. Click on any one to make it render inside the graphical area. Observe also that the name of the second version of the coffee image has a new name: coffee_1. Add another and verify that the interface adds a number after the name of the image to avoid redundancies of names. Check also the options of the Visualization menu.
To complete the program you will have to add all the filtering and processing methods of RImage that you implemented for Lab 1. Add also the creation of the fantasy procedural image that you had assigned in Lab 1 and the rasterization of a vectorial image (see Section Assignment for a summary of the extent of the assignment).
Try to read a surface or create a procedural one (cone). Do you see that the surface is also rendered in the central widget of the window? Now, the central widget is occupied not by a matplotlb canvas, but by a vtk render widget. Try to zoom in zoom out, to pan and to switch from wireframe (key W) to shading (key S). No doubt, it’s a vtk widget!
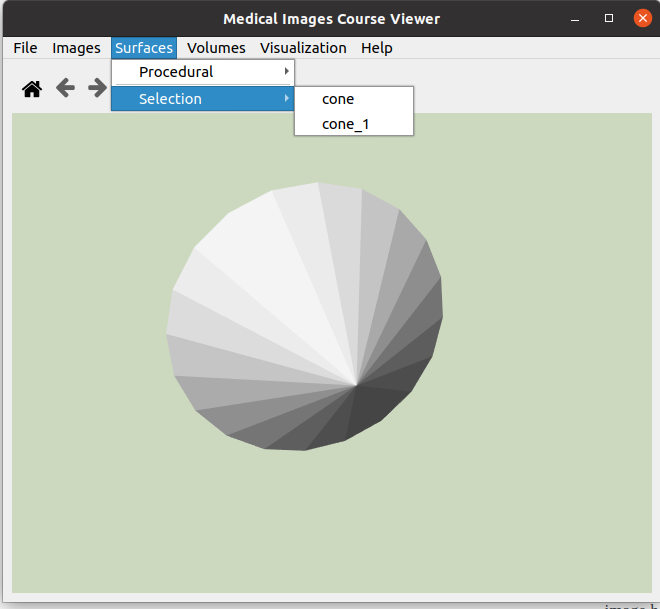
Check in the Selection option of the menu Surface. Observe that a list with the all the surface names has been created. Click on any one to make it render inside the graphical area. Observe also that similarly to the images, the surface names are modified to avoid redundancies.
Now, when you create a cone, you are not allowed to change its radius, height or any other parameter. To complete the code, you will also have to deploy a widget to ask the user for these parameters. You will also have to add at least one (preferably 2 or 3) methods to create procedural surfaces (and the corresponding widget to ask for parameters) (see Section Assignment). In the Visualization menu, there is an option to see all created surfaces together. Check if it works with a cone and a read surface (e.g. monkey.stl). You probably only see the largest surface. The other one is inside. Try to change the surface material to make it transparent like in the image below. Another enhancement of the project is to add a series of pre-defined optical properties (with better name than basic_1!), and an option to create them from scratch through a dialog (see Section Assignment).

Then, try to create a procedural volume model with the option ‘parallelepiped’. This is what you should get:
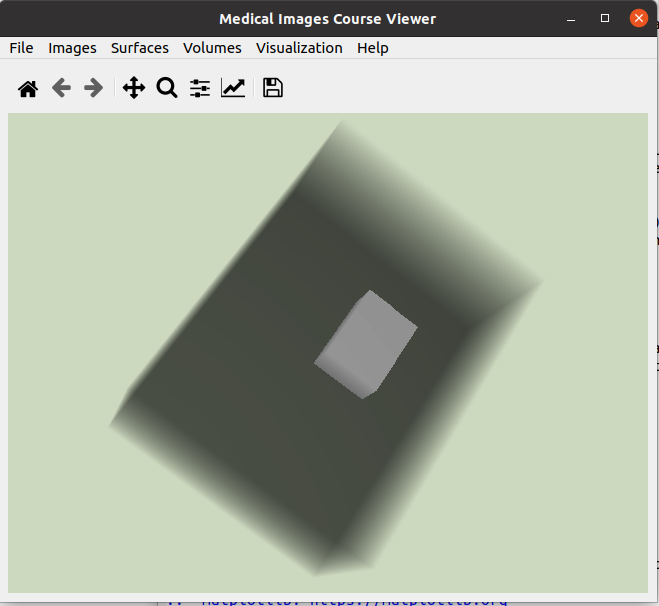
This a volume all filled with low property value except for a subvolume inside full of a high property value. The transfer function assigns low opacity to the low values and high opacity to the high values, resulting in that image. You cannot modify the transfer function or select one from the Visualization menu. That is a necessary improvement to do. You’ll have to add a new procedural volume option. Try also to read volume vtk files. Finally, check if the option of extracting and rendering surfaces works. If not, you’ll have to understand why when exploring the code. Check the error in the console. Is a dialogue missing? You’ll have to implement it (see Section Assignment).
Finally, observe what happens when you open the help option: a pdf file is shown. You’ll have to change this file with the help of your final version of the program (see Assignment).
Now that you have experienced the features of program, try to understand how they are implemented (Try to understand the code).